To see what my yard/entry way looks like, go here.
Welcome again! This is you lucky day! Now you get to see inside my house (ahem). Okay, I’m joking. Obviously, there’s nothing special about the inside of my house, except that it should be cleaner since I’m posting pictures of it on the web. But we won’t go there….
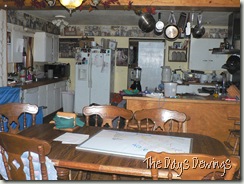
Last week, I left off with a sneak peek through my front (and back and commercial kitchen) door. So this week, since it is the week to show our kitchen and dining areas, that is where we will begin. (I have taken the pictures as if they were a panoramic. Hopefully that cuts down on the confusion of “where is she??”)
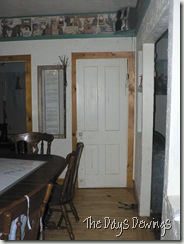
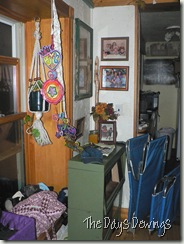
On the right, the entry way from last week. Once you’re through the door way, if you turn your head to the right, this is what you will see: the door leading to the upstairs and that large door way at the far right leads into our living room.
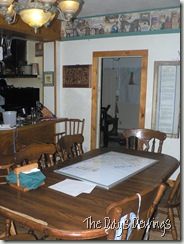
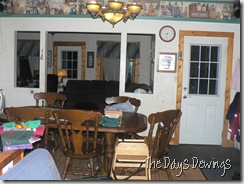
Going counter clock wise (still in the doorway). The room off the dining room (in the left hand picture) is currently …a room. We have lived here for a little over 6 years and it has been a toy room, sewing room, sewing and toy room, the guest room, the school room, and now it’s just a room where the school stuff is stored (I am planning of “doing” school at the dining room table, where it always happens anyway), where my sewing stuff is stored (I sew in the table too, so I can see and hear everyone), where the piano is, and where I hope to put my Grandmothers hutch. Someday.
Our table can sit 8 comfortably and when/if we need more space, we have two 5 foot tables in the garage. (Plus a gazillion chairs that I think are multiplying on me!) The long picture frame on the wall is actually an old window frame that has Isaiah 55 in it. That is one of Adam’s favorite chapters. The one on the other side of the door is an old widow frame as well (these were all in the garage and were the old windows that the previous owners had replaced within the whole house) and in it are dried flower petals. When you are decorating on a budget, you get creative.
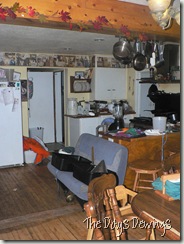
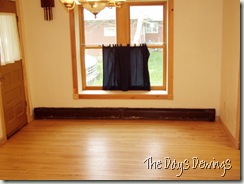
In the right hand picture, we are still turning to the right and you can see that our dining room/kitchen is one big open space. It didn’t used to be, though. You see that wooden beam between the 2 rooms? That is where a wall used to be (that’s also the reason that the wood floor has pieces of it going perpendicular to the other parts) and 2 days after the house became the loan officers ours, Adam took the wall down.
Hey, we were young!
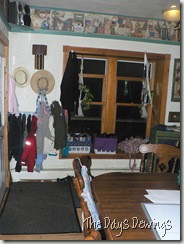
We are coming to the other side of the dining room now. The left hand picture is looking strait from the doorway and the right hand picture is looking slightly to the left. The main thing I don’t like about our dining room is once you come into the house, boom! there you are. Along with the shoes, the diaper bag, the car seat (when there is an infant), the coats…. I would really love a mud room and I have actually contemplated enclosing part of the front porch for this purpose. But, alas, I don’t think that will happen.
See the plants in the window? They are really hardy. They need to be to live in this house.
Before, June 3, 2004 Now, August 12, 2010
This is the view you have as stand in the door way going up stairs (you can see the sister-hardy-plant in the left corner of the window). There are hooks and a little wall space for the children’s and my coats/sweaters.
The border is something my mother bought us when we were “remolding” the dining room. The previous owners had textured over the paneled walls, but did not remove the 2(!!??) drop ceilings. When we removed them, there was about 12” of space between the top of the paneling and the actual ceiling. This border is fabulous for 2 reasons: 1.) it is exactly 12” wide and 2.) it repeats itself every 6 feet, which is very important when you are wanting a border in a large area. The border pictured objects on a shelf and I wanted to simulate that idea, in 3 D, so Adam found some molding that lends itself quite nicely to that.
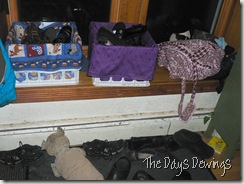
The picture at the bottom is a close up of the shoe crates I made for the children’s shoes. I made a lining for the crates and this helps to keep the sand and junk from getting all over. Theoretically. They are also different colors so they can tell them apart. But their shoes must know how to jump because I often find the boys shoes in the girls’ crates and visa versa and everyone always puts their shoes where they are suppose to go. (Never you mind the messy parents shoes at the bottom. Hey, I said never mind!)
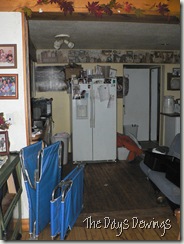
Here, in the left hand picture, is the sight when you stand in the door way between the dining room and the living room. On the right we have us standing in the kitchen and looking into the living room.
And that is our dining room. Now for kitchen #1. Otherwise known as “Mama’s kitchen”.
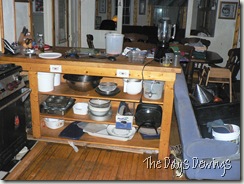
This is the other side of our counter. We made this when we took the wall down, for we had to hide the gaping hole somehow and we really needed more counter space. We had bought maple countertops (1 was 6‘ long and the other was 4’ long, both 30” wide) from a restaurant refurbishing store. We had them planed down and viola! Two wonderful counter tops that are also cutting boards! Adam made the base out of plywood and neither one of us wanted doors on it, so this is the end result. You can have 4-6 people working on it at the same time. It’s great! You can’t see it in this picture, but our pot rack is directly above. (The plastic bags and piece of wood sticking out underneath the cabinet? There is a large enough gap under there that moles have been seen coming into the house via that point. It was a temporary fix that has lasted longer than temporary.)
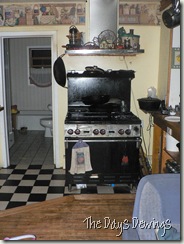
To the left of the counter, is my stove. This is a professional, convection oven 6 burner range. I can bake 60 cookies in 8 minutes. No joke. 8 loaves of bread? 12 minutes. Yeah.
Do you notice the “checker board” floor under the stove? When we bought the house, there was vinyl flooring on top of the maple flooring (why??). Upon removing that, we found that the wood floor had been ripped up over in that corner and had been replaced with scrap pieces of wood (which probably answers the “why” question above). This was not nice to look at. Plus, the previous owners had put tile into the bathroom (seen to the left of the stove picture) and the floor heights were not even and a bit awkward. So we bought tile from a remnant store (hence the checker board look) and laid the tile. The transition piece from the wood floor to the tile floor is actually maple trim that was in the dining room, around the door ways and baseboard. I like the look of pine better, so we replaced the maple trim with pine trim and 4 years later, found a good use for that maple trim.
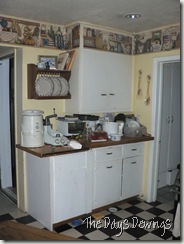
Turning to our left, on the left side of the bathroom door, is our other wooden counter top. The cupboard above it was our only “pantry”, so Adam took the large cabinet (shown in the far right of the picture, in the bathroom), put shelves in it and that became our pantry. The maple counter top only goes 4’ from the wall. The wooden counter top that is different, at the end of the counter (and the cabinets are different as well), was found at the city dumpsters (some 5 years ago, I think), attached to an old dishwasher. It was still in decent shape and it had a towel rack attached to the front of it. So Adam took it off the dishwasher and brought it home. You can’t cut on it, but it works real nice. On the very end of the counter is our grain mill and next to that is the best mixer you will ever buy! I thought Adam was crazy when he bought them! I was right, but I am glad he did. To the far right, you can see the open door way to the commercial kitchen.
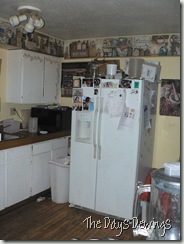
As you can see, we brought the border into the kitchen as well. Not because we needed to hide something, but because I wanted to “tie” the dining room and kitchen together.
The picture to the right is of the left corner of our kitchen. Our microwave is in the corner of the counter top.
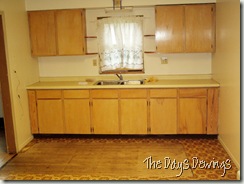
Before, upon moving in. See the wall to the left? On the other side of it is the dining room.
now
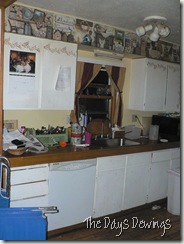
This is the sink and other counter. The sink was a regular 2 base sink, but we changed it to a large, 10” deep, 18” wide sink. The counter top is made of pine and is 6” thick. My brother-in-law cut it with his saw mill and we epoxied it to make it water proof. The maple trim made it into this project, at the edges of the counter, as well. The cabinets were not painted when we moved in and were really….plain. So I painted them white and stenciled them. The bottom drawers were stenciled as well, but the paint always got smeared and looked awful. So a few months ago, I painted over them.
As you can see between the 2 pictures, the dishwasher was also an addition to the kitchen. But since we have our commercial dishwasher (and this one didn’t work very well), it is now used for storage. I wouldn’t mind taking it out altogether and putting cabinets back in that space (cough*Adam are you listening?*cough)….
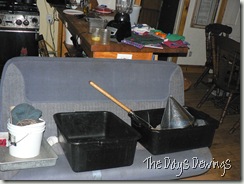 What? You don’t have a 15 passenger van bench in your kitchen?
I suppose it wouldn’t be complete without showing you our commercial kitchen. Kitchen #2. Otherwise knows as “Daddy’s kitchen”.
Standing in the door way, this is what you first see, looking strait on. The 3 base sink is in front, with the top of the retaining wall. The sink closest to the camera is the vegetable prep sink. To the left of the window is our other 6 burner range, but it’s not as nice as my stove is. So I’m okay with not showing you an up-close-and-personal picture.
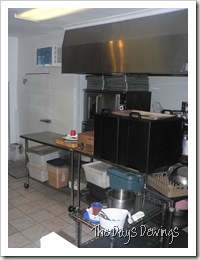
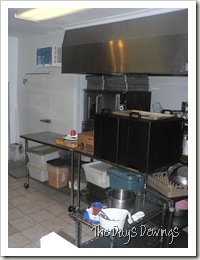
Turning slightly to the left, you see more of the room. Our two, 4’ long SS tables are in front of the range and the double stacked convection ovens. Above that, is the 8’ SS hood. To the left of the convection ovens is our small 4’ x 6’ walk-in cooler (you can see the door handle and the air conditioner that acts as our condenser. Here’s how it works.).
before now
In the right hand picture, is the view from the doorway when we had first finished off this room. When we bought the house, this room only had the studs showing, no electric, no insulation, no nothing. Only the studded wall and a cement floor. This is what it looked like as the toy room (minus the toys). It was then our living room. When we put down the tile flooring that is there now, it was the 4th time we re-did that floor. We told each other “this is the last time!!”. It looks a little different now, no?
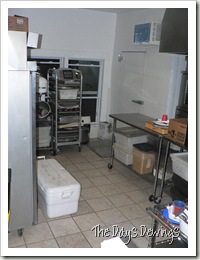
In the picture of the left, you can see the windows, the rolling rack and our 20 quart mixer. To the left of the picture, is the side of our double door freezer. 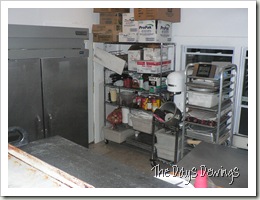 This is the far left corner of the room. You can barely see the outside door just beyond the freezer. We are looking for a trailer so we can store the boxed items in it and then use the shelving for other stuff. I’m sure you can see why.
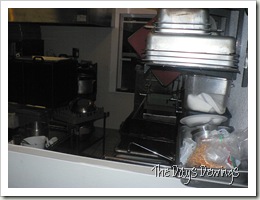
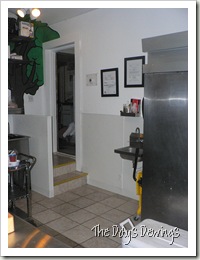
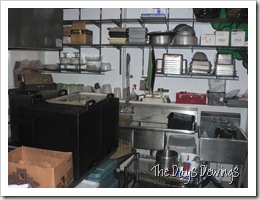
This picture on the left, is looking back into the house, with the walk-in cooler behind. And the picture to the right is of the 3 base sink, the shelving above that and the dish washer is on the left side (it has a dish rack full of clean!! dishes on top of it).
And there you have it. My house. Well, part of it anyway. Come back next week to see some more!
Please visit the nice ladies who are hosting this “tour of homes” link up. They are good Mamas. They actually cleaned up before taking pictures.
Hello Jennifer,
Great post…
Now you are behind one, they’er all onto the living rooms! 🙂
So fun to see your “big-kitchen”!
Hope & pray all is well!
Blessings~
Lori